How to get your Di2 bike ready to ride
Electronic Shimano Di2 gears must be connected to the battery and charged during initial assembly.
11-speed and 12-speed drivetrains differ in their structure.
We explain both procedures in this short tutorial.
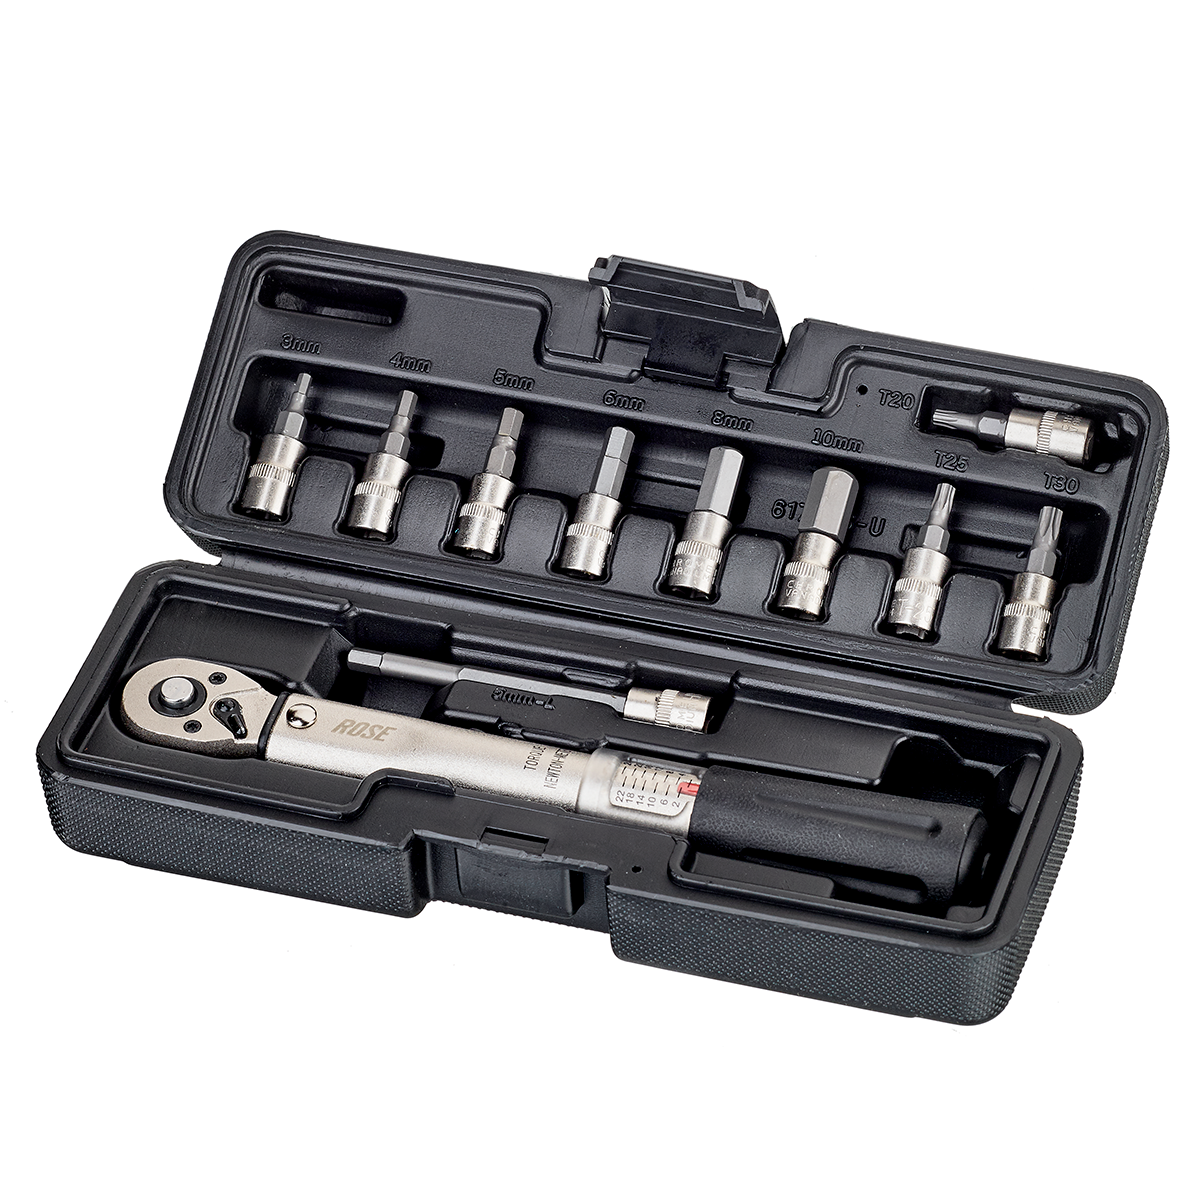
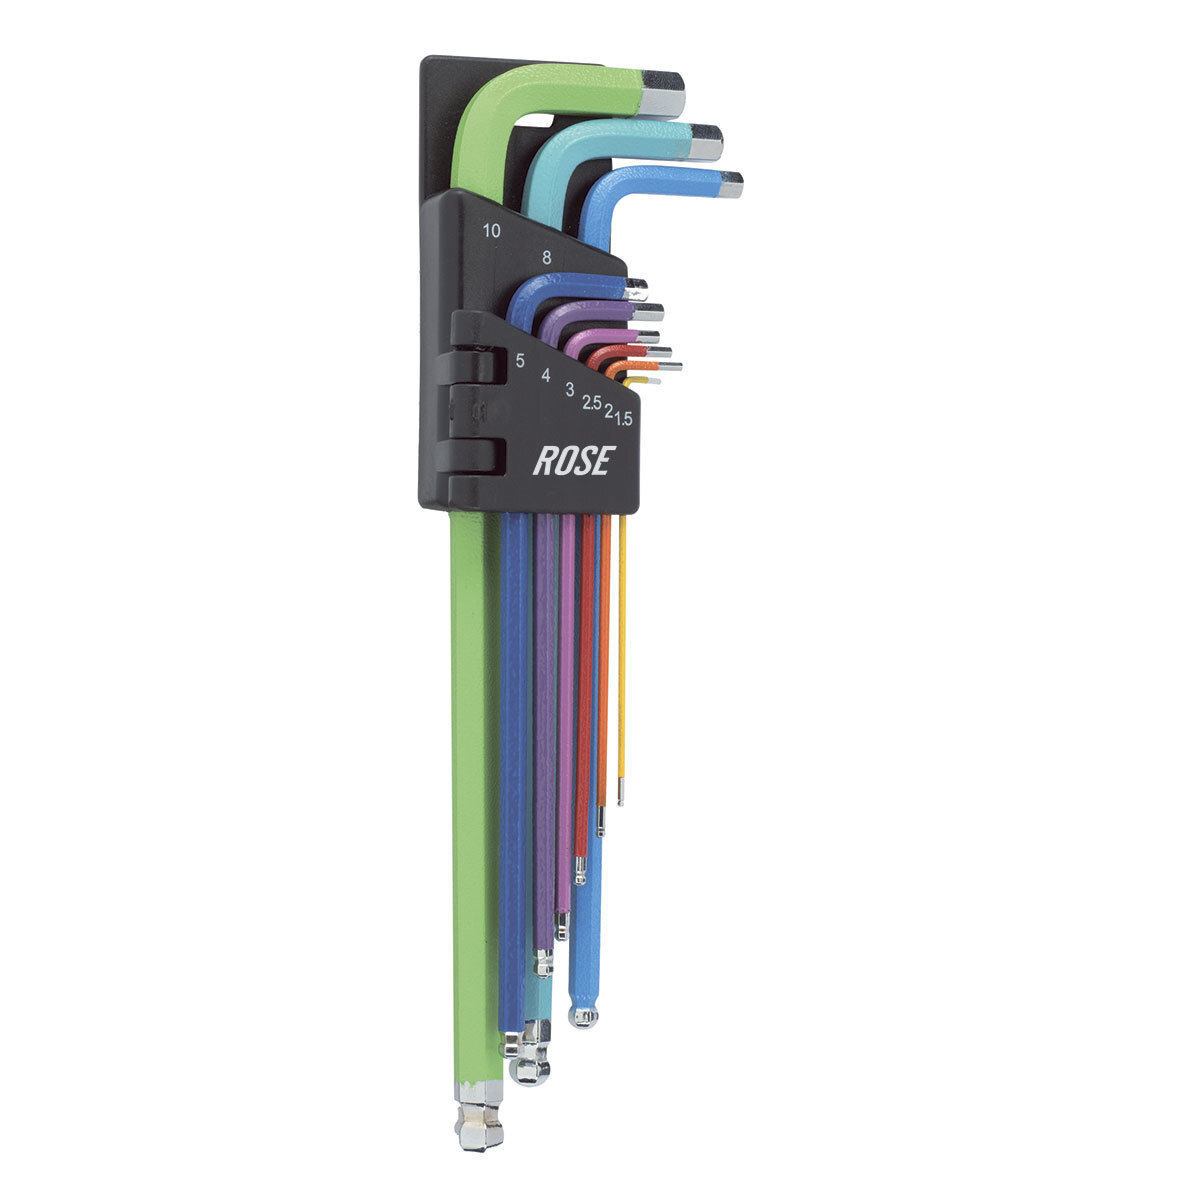
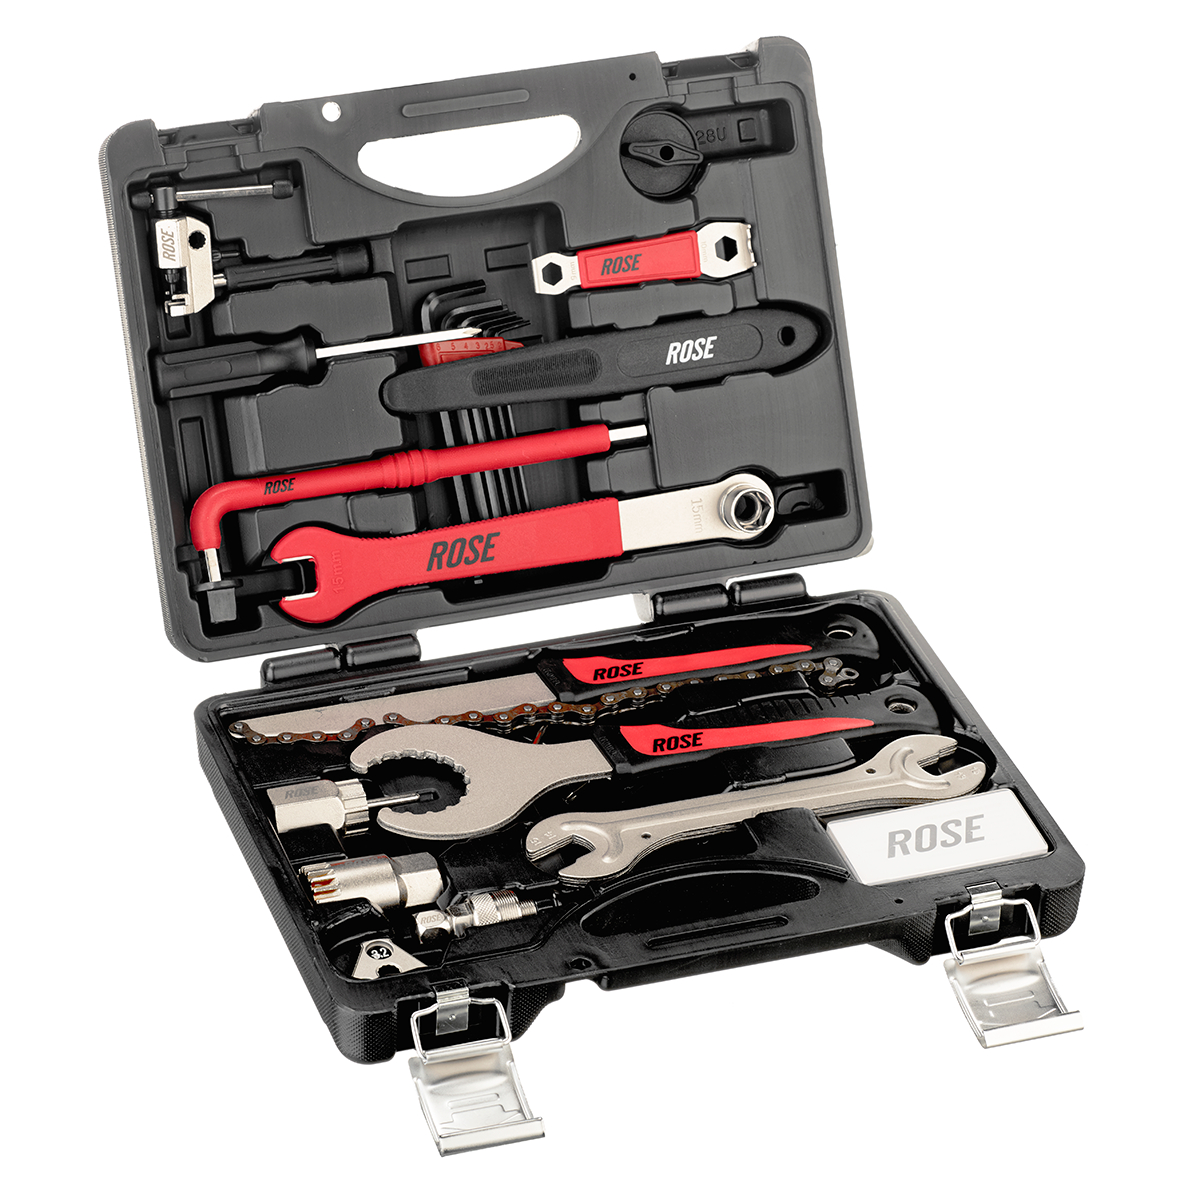
Tools
You need
- Di2 plug tool
- Torque wrench
Legjobb értékelés!
SHIMANO
Di2 plug tool TL-EW02
RRP
5,95 EUR
2,95 EUR
AKCIÓK
Legjobb értékelés!
ROSE
2-24 NM torque wrench set
helyett
45,95 EUR
38,95 EUR
Legjobb értékelés!
ROSE
hex key set
11,95 EUR
AKCIÓK
Legjobb értékelés!
ROSE
ALL2GETHER Toolbox
helyett
49,95 EUR
42,95 EUR
Legjobb értékelés!
ROSE
CYCLE YOUR WAY T-9 Mini Tool
5,95 EUR
Step 1: Connecting the battery
- The battery is located in the seat post for Di2 gears and must be connected with a cable (11-speed) or two cables (12-speed) in the seat tube.
- To do this, attach the Di2 tool to the plug head and insert it into the holder on the Di2 battery. If there are two plugs, note the coloured marking.
- Repeat this process with the second plug for 12-speed gears. Note that the centre port of the battery must always be occupied. Then remove the Di2 tool.
Step 2: Fitting the seat post
- Slide the seat post into the seat tube. Make sure that the zip tie is not pinched in the process.
- Position the seat post at the correct seat height and secure it using the clamp bolt.
- Finally, tighten the screw to the required torque using the torque spanner.
Step 3: Charging the battery
- Remove the protective plug from the charging port at the end of the handlebar (11-speed) or rear derailleur (12-speed).
- Connect the charging cable to the charging port and plug the mains plug into a socket.
- The charging process begins and is signalled by coloured LEDs on the power supply unit as well as the rear derailleur and handlebar plugs.
- Allow the battery to charge fully and do not forget to place the protective plug on the charging port after disconnecting the mains adapter.