How to build your new hybrid bike out of the box

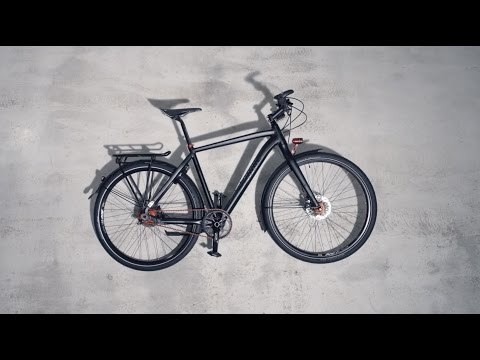
Our bikes are partially disassembled for transport. However, with some helpful tips, you can get your bike ready for riding in just a few simple steps. Here’s our step by step guide!


We need your consent to load Youtube.

We use a third-party service to embed video content. This service may collect data about your activities. Please read the details and agree to use the service to view this video.

Trekking+e-bike_Werkzeug-klein

You need:

  • Hex wrenches (4, 5, 6, 8 mm)
  • T25 star wrench
  • Torque wrenches
  • Pedal wrench
  • Manual

Trekking_e-bike_schritt_1-klein

Step 1: Unboxing

  • Remove your bike and all small parts from the box
  • Inside the bike box, you’ll find 1-2 small parts boxes
  • Remove all packaging from the frame

Trekking_e-bike_schritt_2-klein

Step 2: Straighten the bars

  • Loosen the bolts on the stem
  • Straighten the bars

Trekking_e-bike_schritt_3-klein

Step 3: Check the headset for play

  • Squeeze the front brake lever
  • Move the bike back and forth
  • If there’s any play inside the headset, adjust the headset play according to the instructions given in the handbook

Trekking_e-bike_schritt_4-klein

Step 4: Align your handlebars

  • Twist the handlebars until they are centred
  • Tighten the bolts in a crossing pattern, following the instructions you can find in the handbook

1x1_Schritt_5_MG_8662_klein

Step 5: Adjust the saddle height

  • Undo the quick release or bolts on the seat clamp
  • Get your seat adjusted properly and follow the maximum and minimum insertion recommendations
  • Tighten the quick release lever or bolts on the seat clamp

Trekking_e-bike_schritt_5-klein

Step 6: Adjust your grips & accessories

  • Loosen the bolts on grips, levers and bell
  • Twist the components round the bars to get them into the right position
  • Tighten the bolts according to the manufacturer’s instructions

Trekking_e-bike_schritt_6-klein

Step 7: Installing the pedals

  • Most pedals have a groove around the spindle or a different marker to mark the left and the right pedal
  • Place the pedal thread into its side’s crank arm
  • Tighten the pedals according to the manufacturer’s instructions