Belső védő szalag
Do you have questions about rim tapes?
What do I need to consider when buying a rim tape?
For classic rim tapes as well as tubeless rim tapes, the size is the most important factor. So make sure you buy the right width, which is generally determined by the inner rim width of your rim. If you don't know it, you can also determine it with a calliper between the rim flanges. With classic rim tapes, you also need to consider the correct wheel size.
How often do I have to change the rim tape?
A rim tape usually lasts a very long time, so that no fixed replacement intervals are necessary. It is sufficient to check the rim tape for tightness and signs of wear every time you change your tyres. With tubeless rim tape, you should also take a close look at whether it is still firmly glued at the edges, as the tightness of the entire system depends on this.
How does tubeless rim tape differ from standard rim tape?
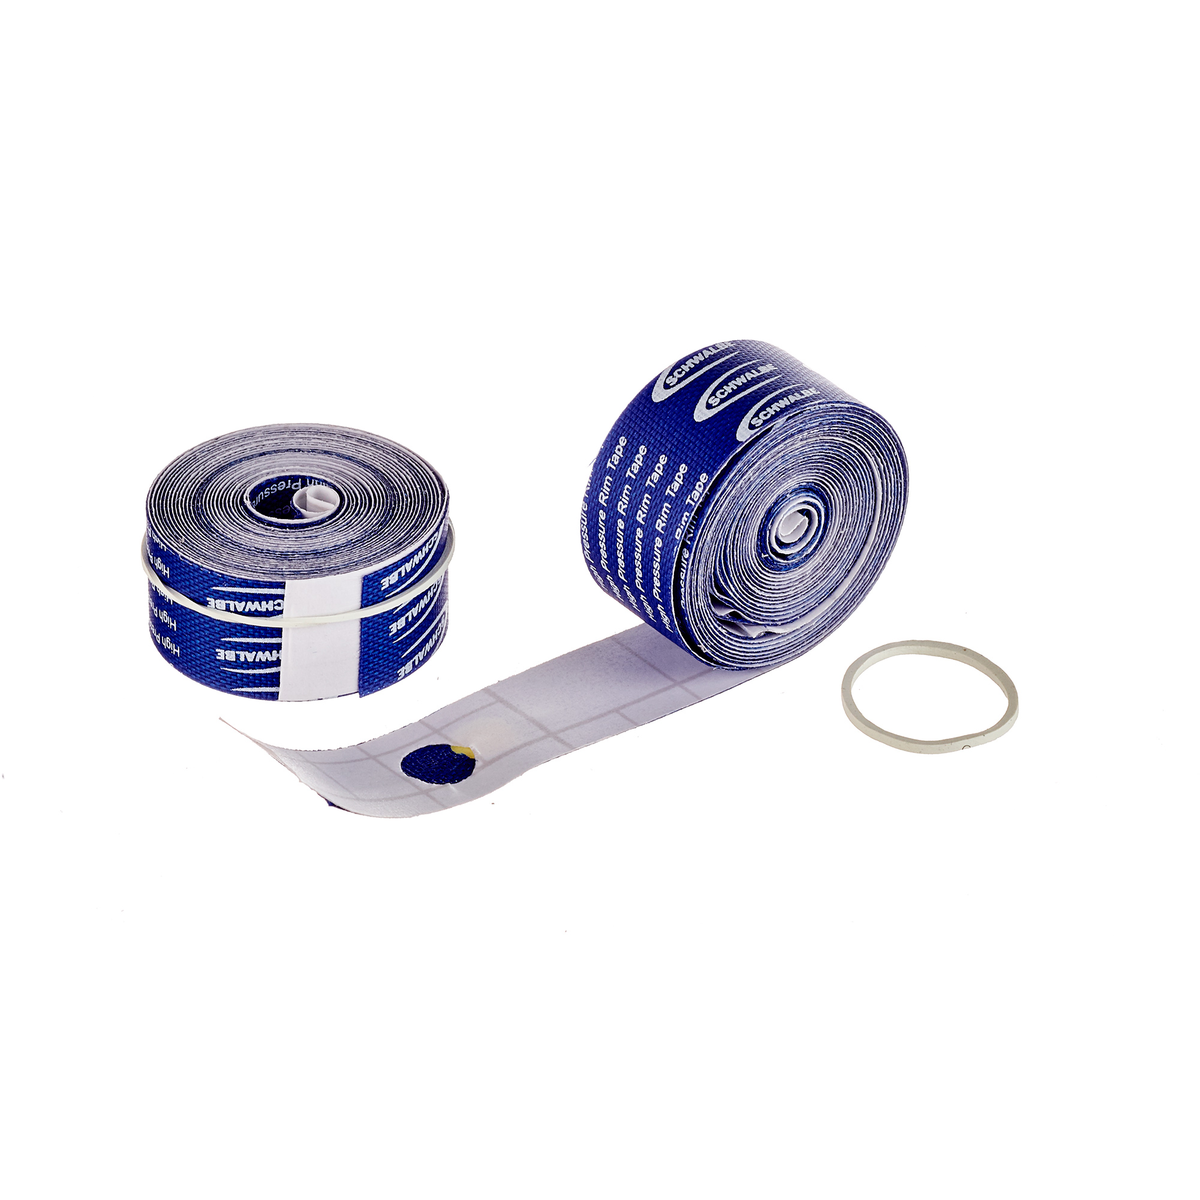
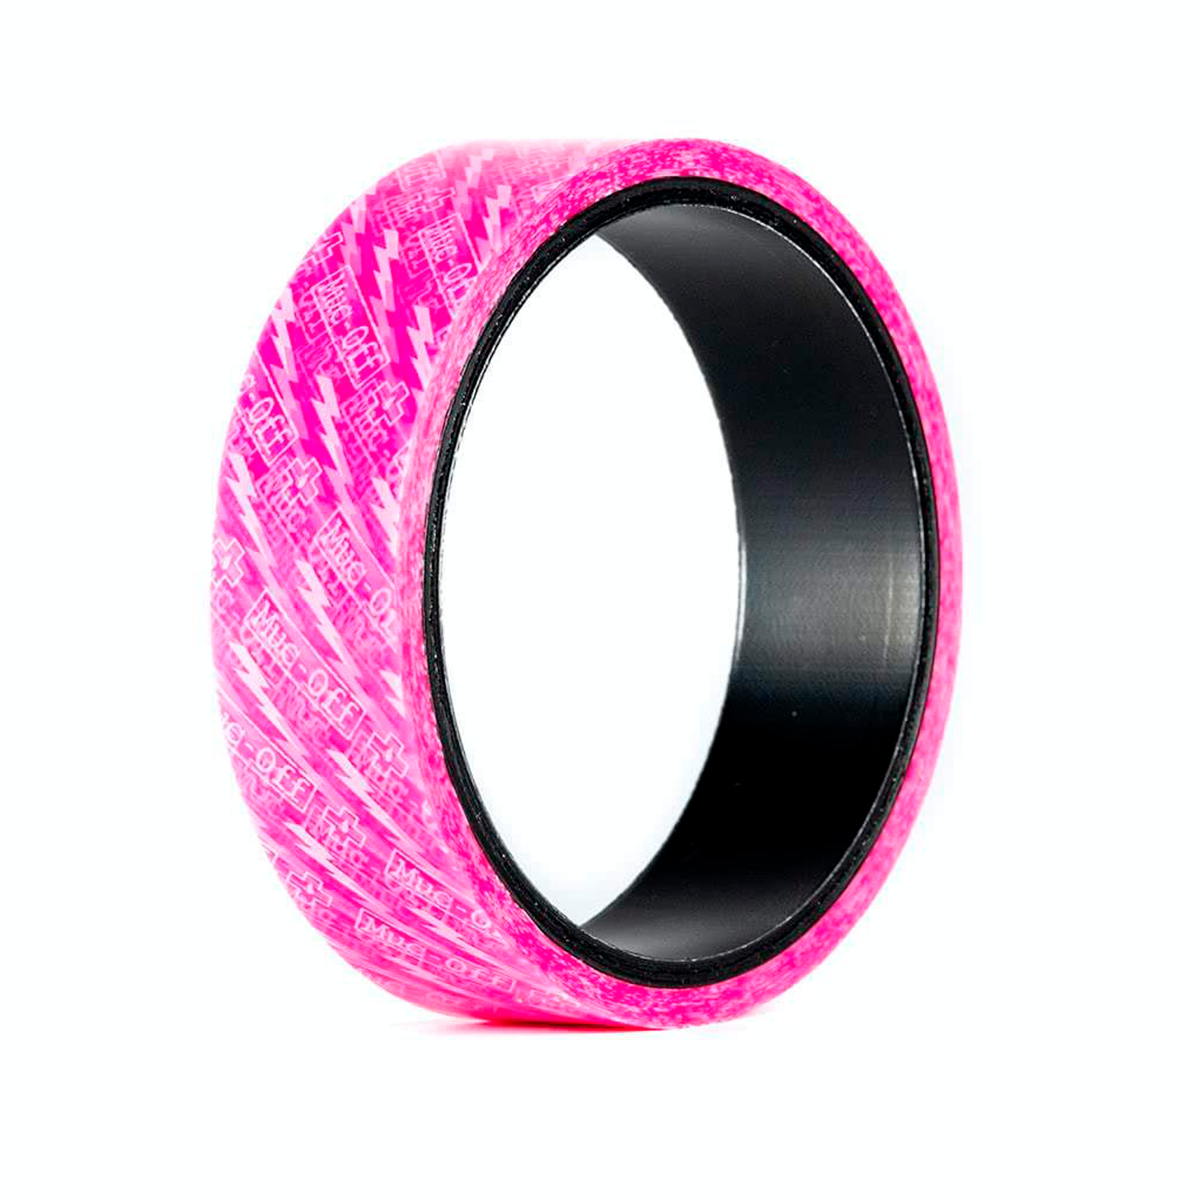
The purpose of tubeless rim tape is to seal the spoke holes in the rim. The rim tape therefore has an adhesive side to make the holes airtight. This is not necessary for inner tube setups. In this case, the rim tape is only there to protect the inner tubes from the spoke nipples between the eyelets in the rim. Standard rim tapes are therefore elastic and can be pulled onto the rim in a similar way to a rubber band.
Can I also ride a tubeless rim tape with an inner tube?
Yes, you can also ride a wheel with tubeless rim tape with an inner tube. If you have a major puncture with your tubeless tyre, you can thus insert a spare tube and don't have to take a standard rim tape with you. For permanent use with a bike inner tube, however, you should use rim tapes designed for this purpose.
How do I fit a tubeless rim tape?
To fit a tubeless rim tape, you first need a clean, grease-free rim. It is best to use isopropyl alcohol or methylated spirits for cleaning – alcohol cleans gently and does not leave a greasy film.
- Position the rim tape a few centimetres next to the valve hole in the centre of the rim, unroll it gradually and stick it on all the way around – you should always pull it tight with light pressure and smooth it out cleanly.
- Once you have reached the beginning, let the tubeless tape overlap the valve hole again by a few centimetres and cut it off cleanly with scissors. While doing so, you can round off the edges a little.
- It is best to use a small mandrel to pierce the valve hole, then push the valve through and secure it with the retainer nut.
;BackgroundColor=ffffff)
;BackgroundColor=ffffff)